Custom Fields
Note: this is a paid Premium feature. (opens in a new tab) To learn more about our Premium features, please visit our Pricing (opens in a new tab) page.
To further help you have a more robust experience throughout your grants life cycle, you can also add 'Custom Fields' to your Opportunities, Requests, Grants, or Funder tabs.
The option to create Custom Fields is only available to Admins. The option to input data can be completed by an Admin and/or any User.
Custom Fields can be created in two ways:
-
Directly from your Settings page (*easiest*)
-
Or, from your records page, then click on the Custom Fields section to take you back to the Settings page.
Steps to create Custom Fields from your Settings page:
-
Go to your Settings page.
-
Scroll down and click on Custom Fields.
-
Choose where you would like to create your new custom fields, either in "Funders" or in "Opportunities, Requests, and Grants". Then, click on the blue button to start adding those fields.
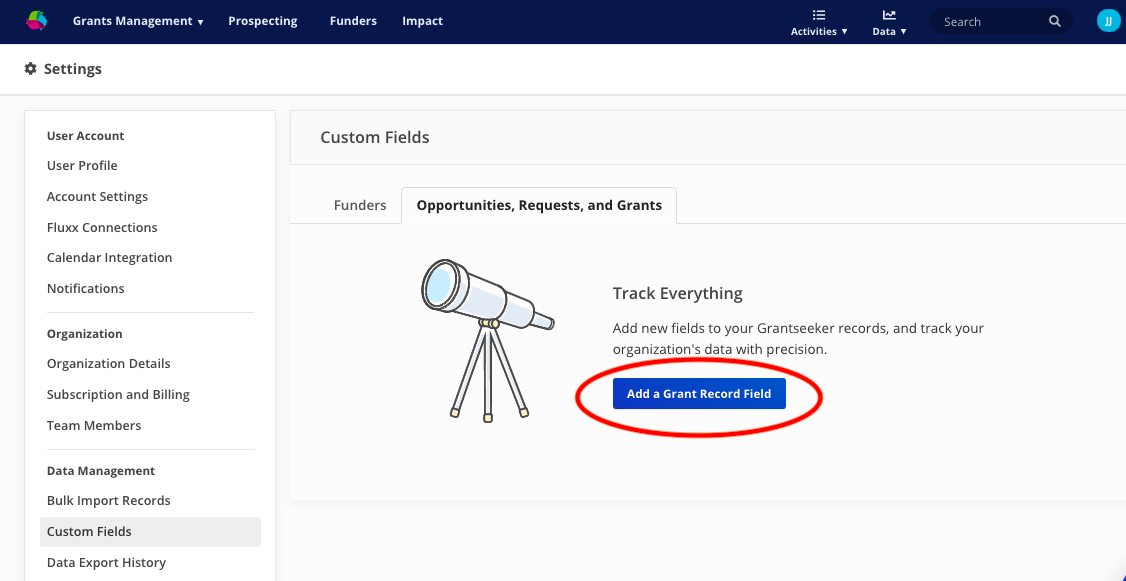
- A new popup modal will appear for you to start creating your new fields:
 5. You have several options on what type of field you would like to create:
- Short Text (text under 250 characters)
- Long Text (text more than 250 characters)
- Date
- Currency Amount
- Number
- URL
- Boolean (yes/no)
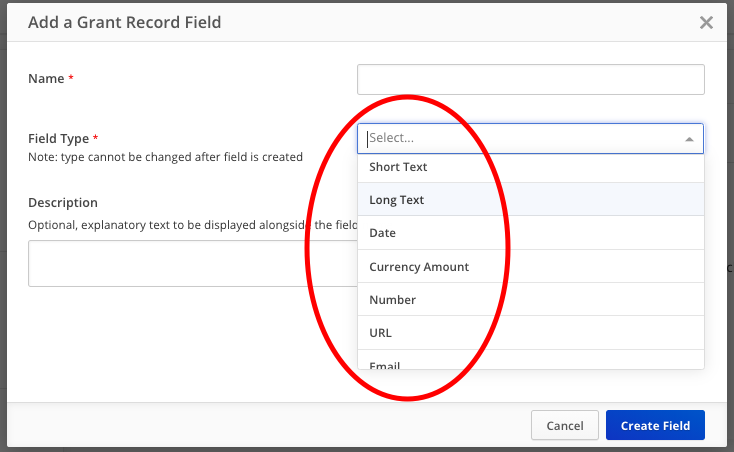 6. Once complete, click on 'Create Field', repeat as needed.
7. Arrange your fields easily with the drag-and-drop feature in the order you would like them to appear in the form.
 8. All custom fields will appear across all tabs for Opportunities, Requests, or Grants. Any custom fields created in Funder will only show across funders tabs.

Steps to create Custom Fields from your records page:
- From your record, scroll down until you see the section labelled Custom Fields. In the right-hand corner of that section, click on 'Create custom fields in Settings':
 2. From there, you will be taken back to your Settings page where you will be able to create your new custom fields:
 3. Follow the same steps as above from the Settings page.
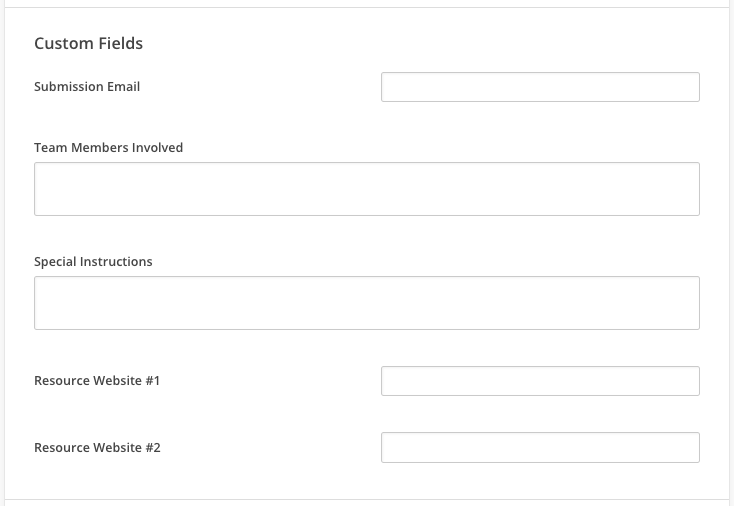
Entering data into Custom Fields
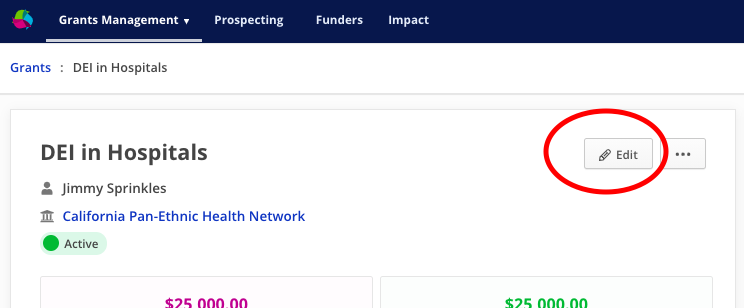
Once you have finished creating all your new fields, go back to visit your records and click "Edit" at the top of your page to populate your new fields with data:
 Scroll down to 'Custom Fields':
Custom Fields and Restrictions
-
Only Admins have the ability to create Custom Fields.
-
Only Admins can create, edit, delete, or reorder custom fields.
-
All Admins and Users will be able to see custom fields on the records and populate them with data.
-
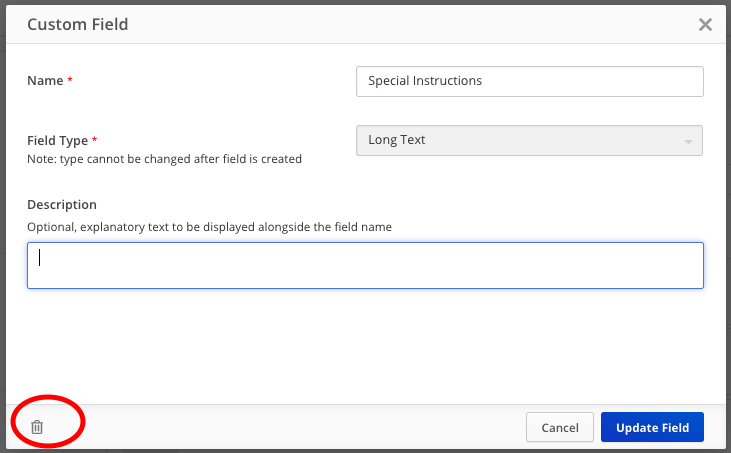
Once a field is created, the field name and its description can be edited, but the field type cannot be changed.
-
Data exports are able to read custom fields and so will appear on any data pulls.
-
Custom Field deletion is permanent and will immediately remove that field and its data from all records.
Deleting a Custom Field
Only Admins can delete a custom field. To delete a custom field, go to your Settings page and scroll down to Custom Fields. Select which custom field you would like to delete and click 'Edit'. Click on the 'trash can icon' in the bottom left corner. Only Admins can delete a custom field.